
I've been working on the Elemental series-Fire skirt so I've taken pictures of the steps it takes to create one of my Elemental skirts. I wanted to show you what it takes to make a skirt in the Flutterby Gifts craft lab because I don't want to just *say* that my skirts are high quality...I want to *show you* that my skirts are high quality!
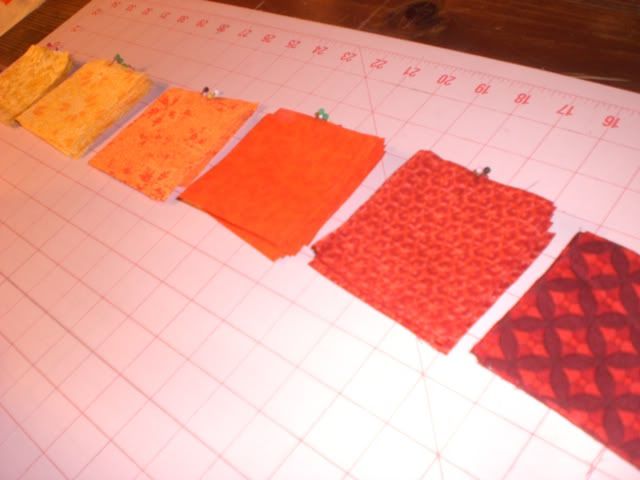
First I have to cut all the fabrics for the patchwork detail. The pins show me which direction the fabric grain is going. That way I can make sure that all squares are going the same direction as I sew them together.
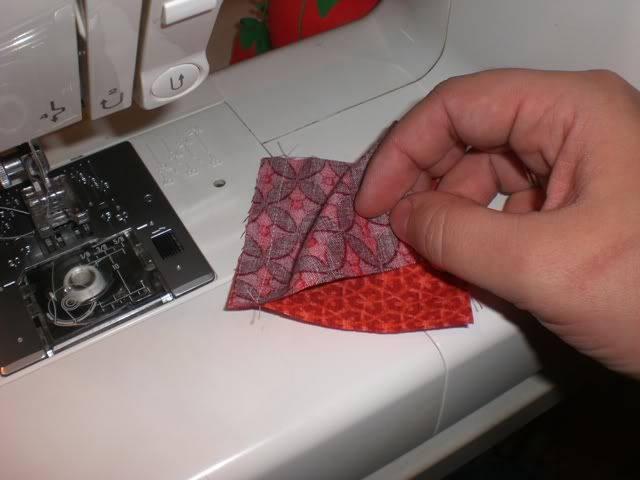
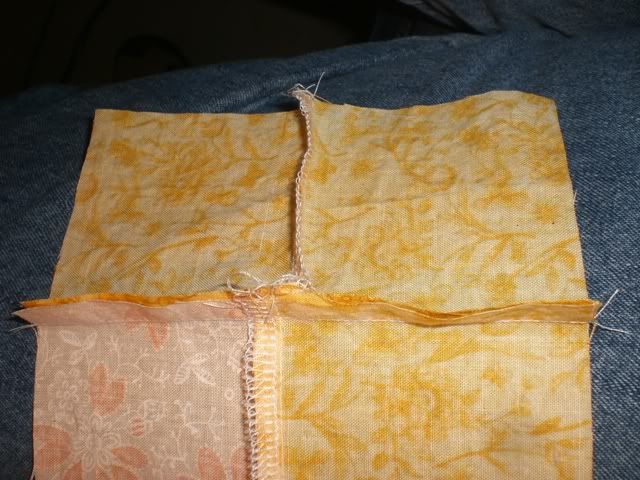
I laid out my pattern (not pictured) then sew two squares together. (since the pattern called for two rows and eleven columns) I sew all the columns together first.
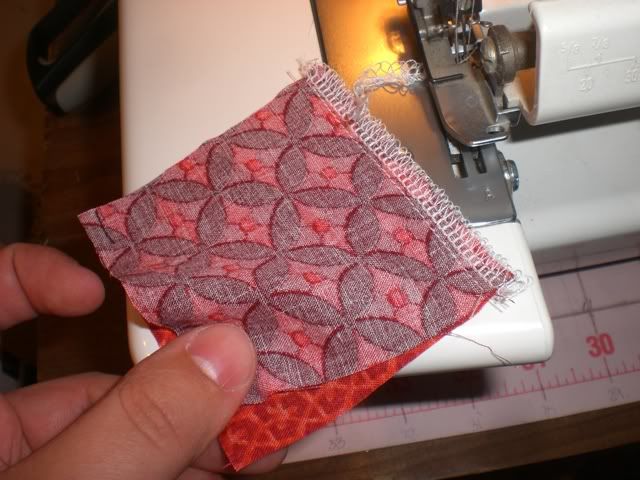
Then I run each column through my serger to protect all loose ends from fraying.
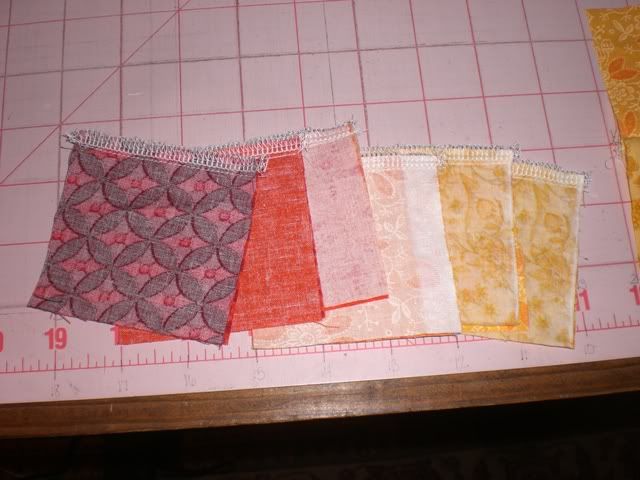
Here's a few of the columns that have been sewn and then serged.
Then the columns get sewn together to create the patchwork design.
Once all the columns have been sewn it's back to the serger to go over each of those seams again.
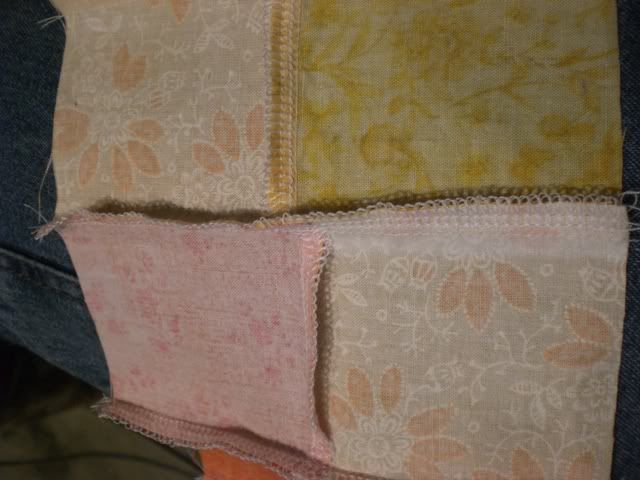
Once all seams have been both sewn and serged it's time to press the design. I make sure that the column seams alternate so that the design lays down flat.
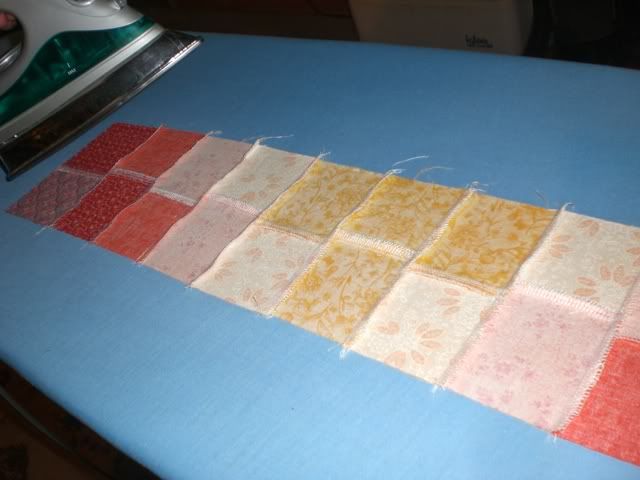
See!! All that works pays off. All the seams lay flat and all the corners line up perfectly!!
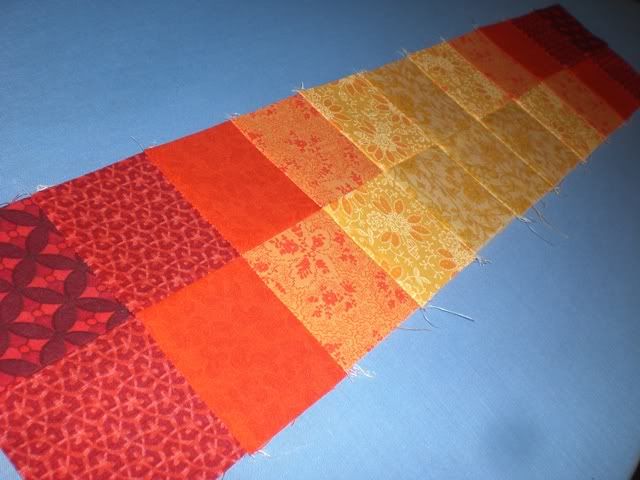
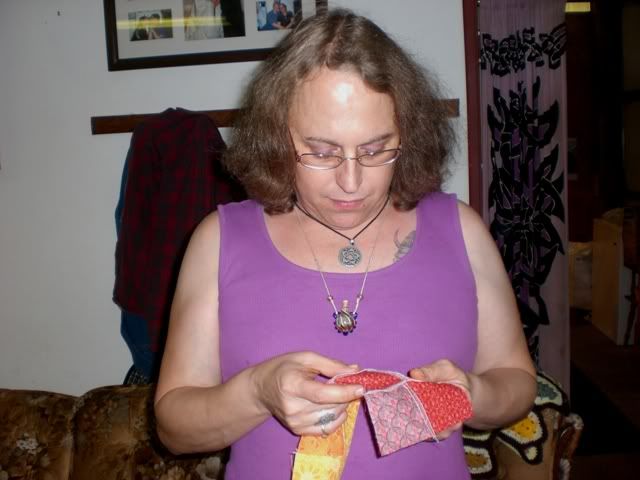
Then the patchwork goes for "inspection" lol!!
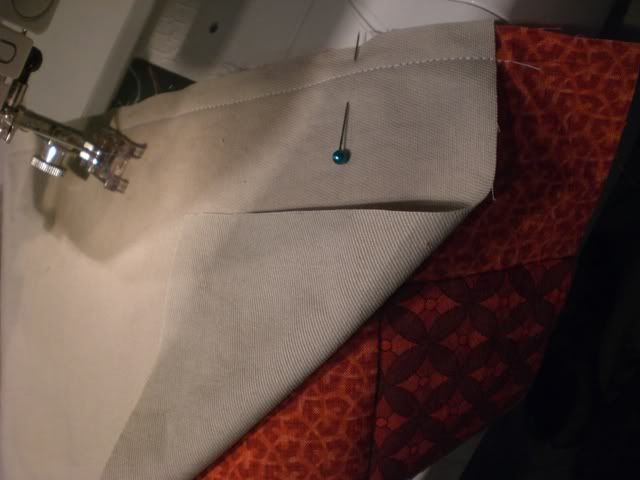
Back at the sewing machine the patchwork gets attached to the bottom portion of the skirt.
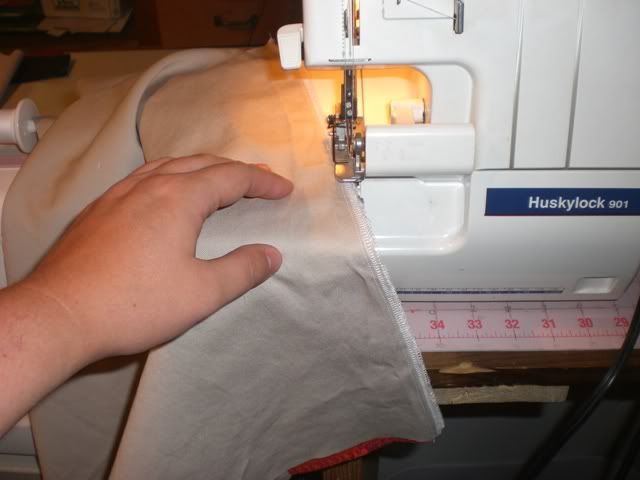
Of course, then the seam must be gone over at the serger.

Then it's time to attach the patchwork to the top portion of the skirt! (almost done!!)
That seam goes through the serger.
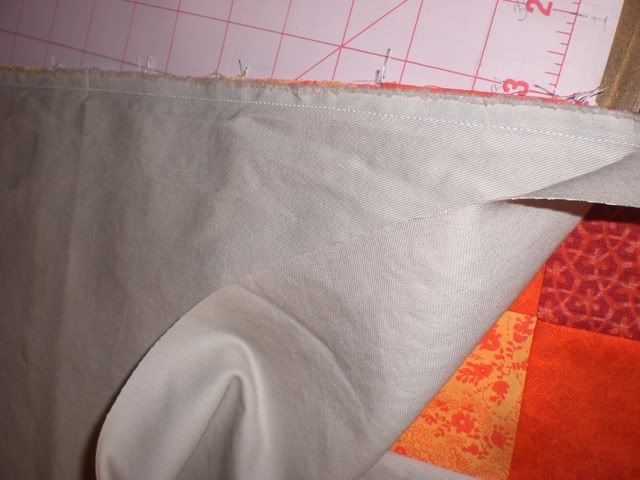
I take the skirt panel to my cutting table to cut off the excess patchwork
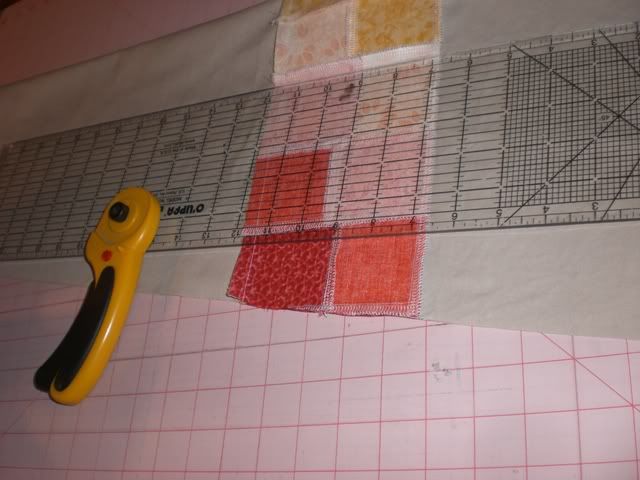
There's one panel out of four completed! This is the back panel (which will look the same as the front except the front will have an applique)

And that's the process of making a skirt!!
No comments:
Post a Comment